Let’s get to the point. IONOS will offer this option to you at a fee. You cannot amend the SOA using the IONOS portal, but you can do it using their API.
What you need to do first is to enable API on your IONOS account and create API Public Prefix and Secret. Those two will be provided in the following format:
e205cabb31b9423cb085e82676520949.
Atfb71WgxNhwgp6zmJFVDLIxlNrg52d58fjBhTTBxOlH1CQ1nspd6qyxqCHtjtQUkb44FJVnDg3UnxMlTmMHpg
You can see that both are separated by a dot, and you will need the entire string to be able to make an API call to IONOS. Make sure to save them somewhere safe.
There are two options in Power Automate. You can use HTTP request action or create a custom connector. With an HTTP request, you will need to know your API credentials for every new flow you create, whereas with a custom connector, you only configure it once.
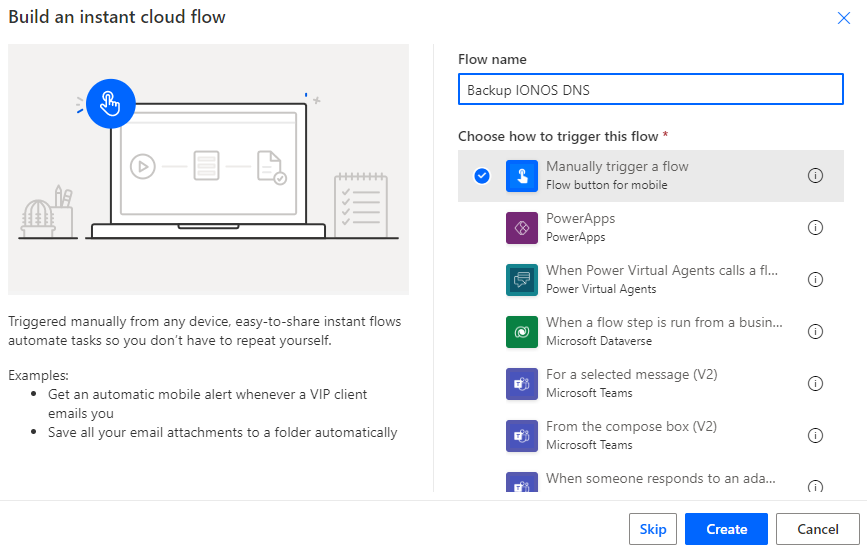
To create a flow with the HTTP request action, log in to your Power Automate portal and create a new Flow. It’s up to you what type of trigger to choose. In this example, we will use a button to instantly trigger the flow. Don’t worry; you can change the trigger later to suit your needs. I personally use a schedule trigger to take a backup of all my DNS records once a week. Give your new flow a name and click create.
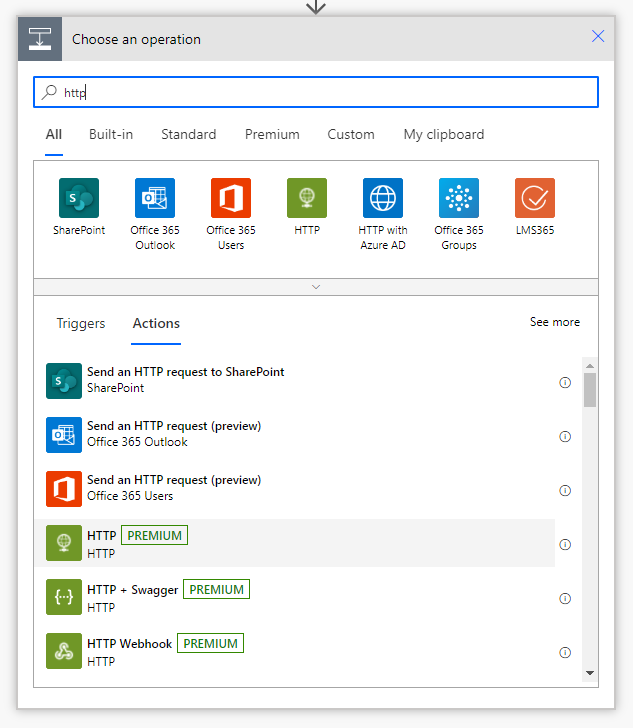
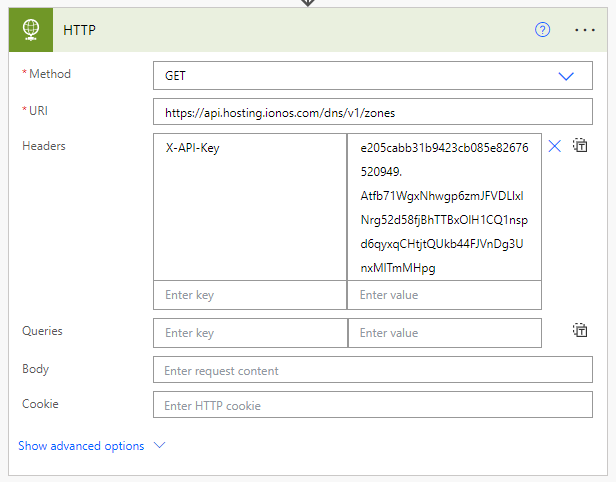
The next action we will need is HTTP – it will allow us to send an HTTP request to IONOS.
The following configuration will return all zones and their IDs from your IONOS account, and then using those IDs, we will get records for each zone.
The response we get is this.
[
{
“name”: “domain1.co.uk”,
“id”: “ca6569b2-e0yf-11eb-b583-0a586444525e”,
“type”: “NATIVE”
},
{
“name”: “domain2.co.uk”,
“id”: “c9b9de80-e04f-11eb-b583-0a586444525e”,
“type”: “NATIVE”
}
]
In the next action in our Flow, we need to use the “id” to retrieve the records for each domain. If you have multiple domains and you would like to get the records of all of your domains, you need to use Apply to each action but you can get the records of just one domain using the following GET command.
https://api.hosting.ionos.com/dns/v1/zones/{recordId}
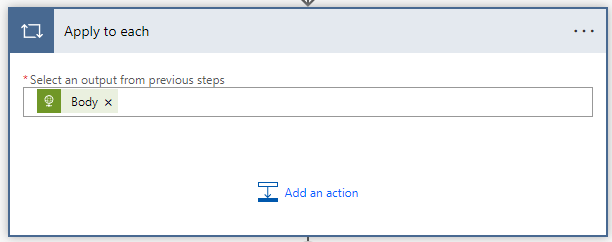
To do that, we need to add another HTTP action. To return DNS records for each zone, we need to add Apply to each action first. Use body(‘HTTP’) as the output from the previous step.
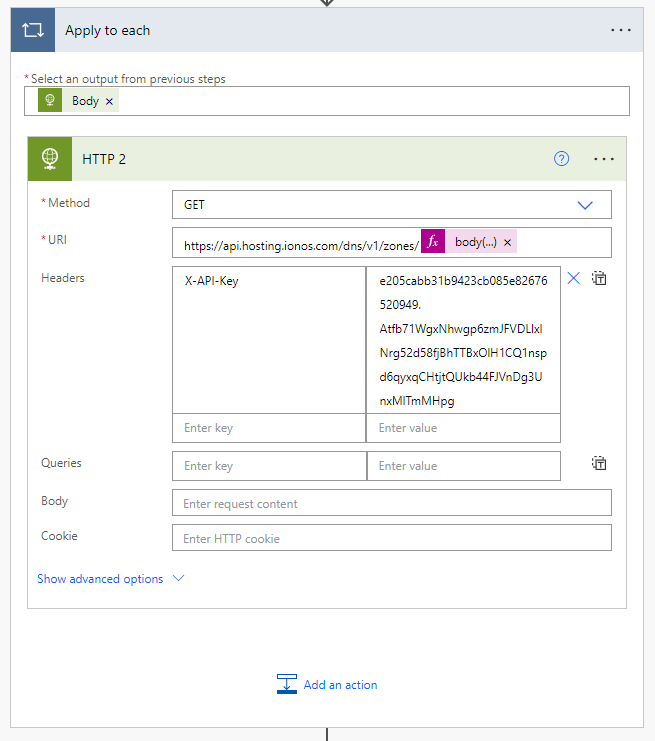
Then, add another HTTP request inside Apply to each, and this time, we will add the {recordId} to our URI as we want to request details about each zone. The {recordId} expression will be item()?[‘id’]. Notice that we added ?[‘id’] at the end of the item() expression. This part will run twice since we only have two domains, domain1.co.uk and domain2.co.uk, and each step inside the Apply to each action will return all DNS records for each domain separately.
The response, depending on how many DNS records you have configured for your zone(s), can be exceptionally long. In the example below, you will see CNAME and MX records. There are more, but you get the idea.
{
“name”: “domain1.co.uk”,
“id”: “ca6569b2-e0yf-11eb-b583-0a586444525e”,
“type”: “NATIVE”,
“records”: [
{
“name”: “autodiscover.domain1.co.uk”,
“rootName”: “domain1.co.uk”,
“type”: “CNAME”,
“content”: “adsredir.ionos.info”,
“changeDate”: “2021-07-09T18:02:14.000Z”,
“ttl”: 3600,
“disabled”: false,
“id”: “1ae6ed69-b1f3-6da6-02f6-5003bbd025ec”
},
{
“name”: “domain1.co.uk”,
“rootName”: “domain1.co.uk”,
“type”: “MX”,
“content”: “mx00.ionos.co.uk”,
“changeDate”: “2021-07-09T18:02:14.000Z”,
“ttl”: 3600,
“prio”: 10,
“disabled”: false,
“id”: “a57b45a8-8cb1-48a4-d0a5-25f160036eb7”
},
{
“name”: “domain1.co.uk”,
“rootName”: “domain1.co.uk”,
“type”: “MX”,
“content”: “mx01.ionos.co.uk”,
“changeDate”: “2021-07-09T18:02:14.000Z”,
“ttl”: 3600,
“prio”: 10,
“disabled”: false,
“id”: “28286412-be82-aea7-4974-fa45196314b9”
}
]
In the above steps, we used two HTTP request actions and you had to use your API credentials in both actions. I will now show you how to build a custom connector so that you can reuse it as many times as you want inside your flows without remembering to copy and paste the API credentials every time you create an API call.
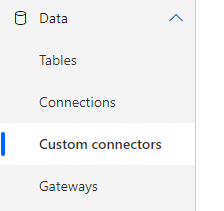
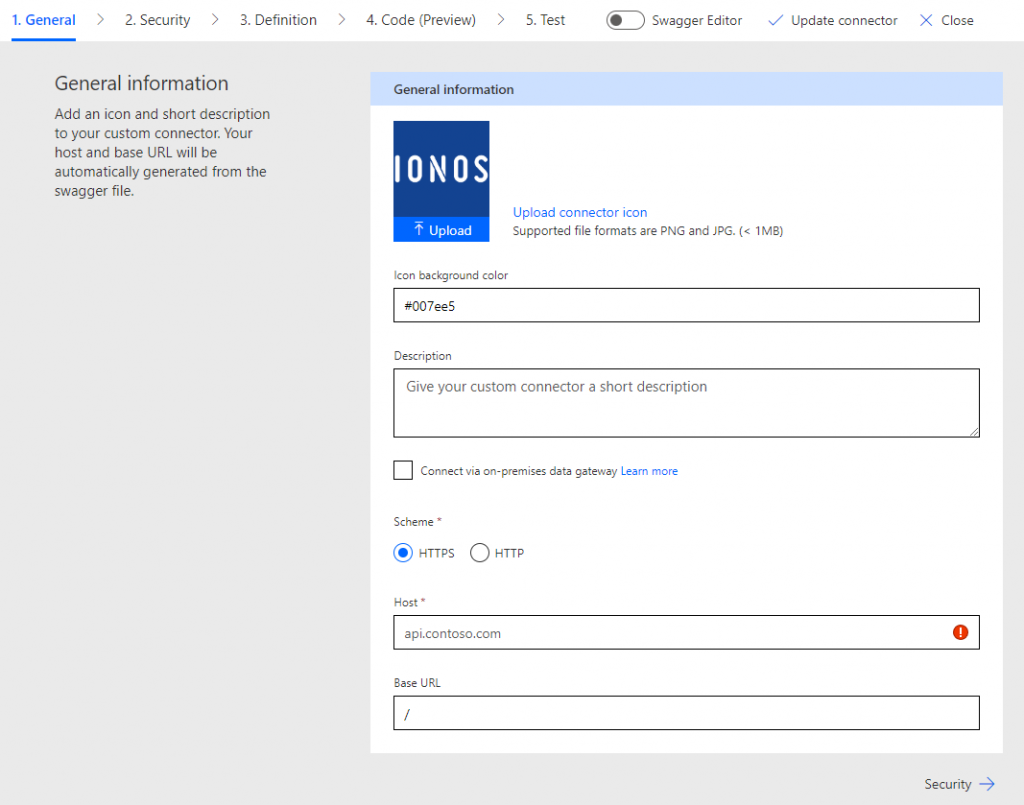
In your Power Automate portal, go to Data and then Custom Connectors
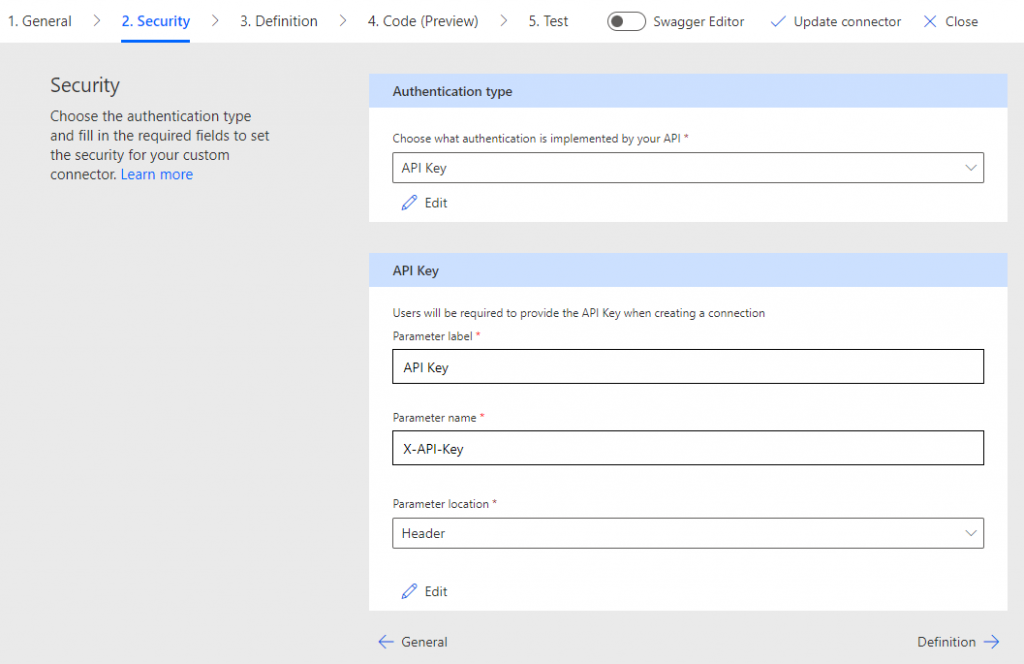
In the Security tab, under Authentication type, select API Key and under API key section, enter API Key as the parameter label, X-API-Key as the parameter name and then select Header as the parameter location.
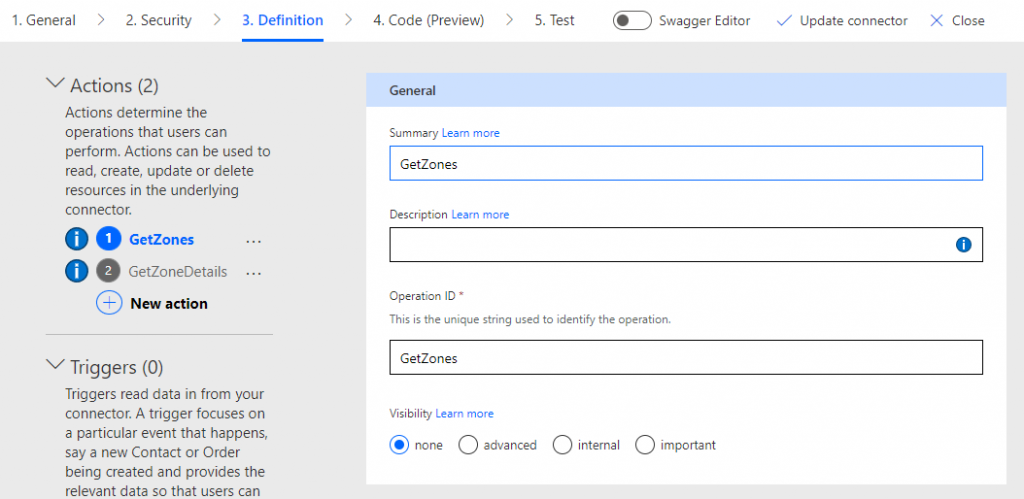
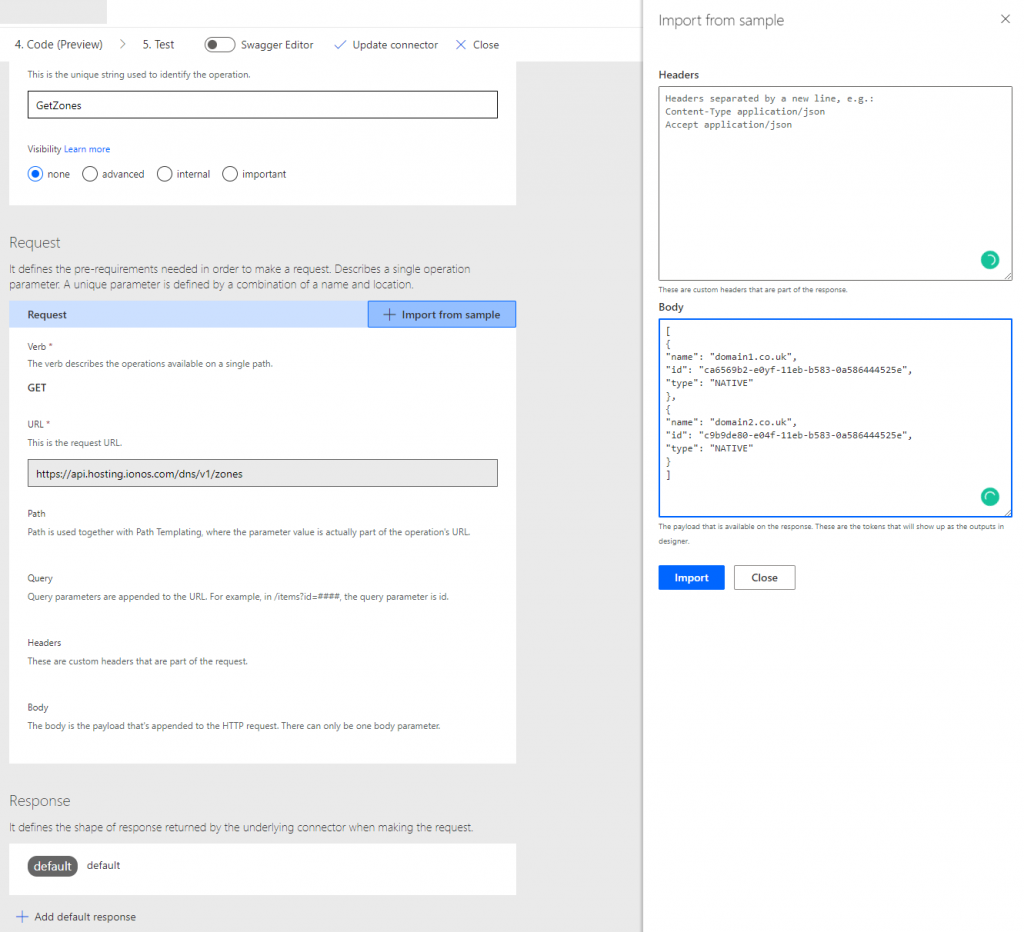
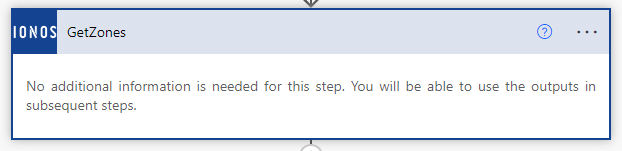
In the Definition tab, under Actions, click the Plus symbol. You can name these whatever you want. I named the action as GetZones.
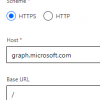
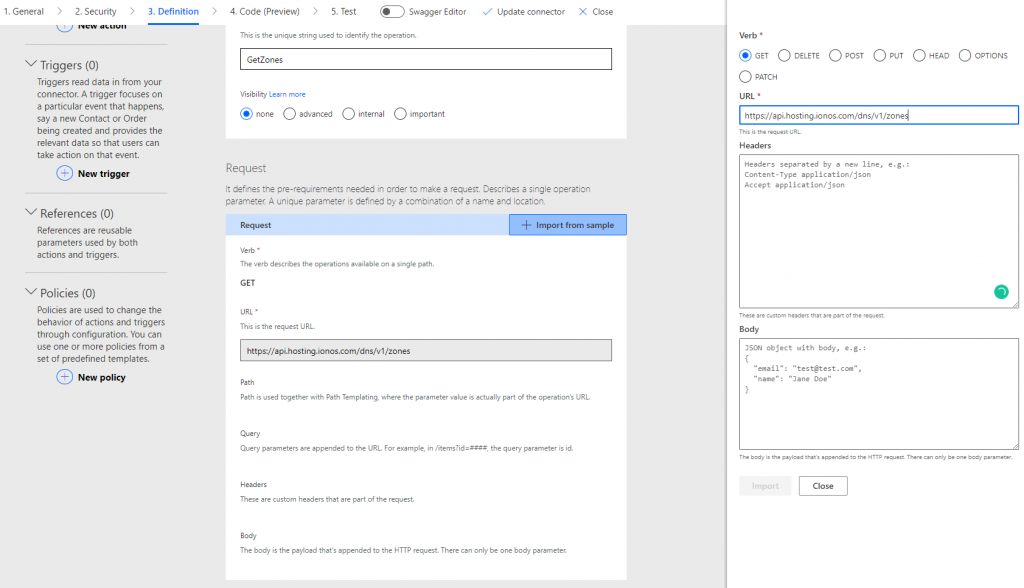
Under the request section, click Import from sample, select GET, paste https://api.hosting.ionos.com/dns/v1/zones in the URL and then click Import.
Under Response, click Add default response and paste the JSON sample (from above) into the Body box.
Now skip to tab 5. Test.
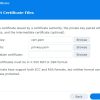
You still need to create a connection and this is where we will need your IONOS API credentials. So go ahead and click New connection. You will be redirected to a new page where you need to paste the API credentials.

Click create connection, and you will be taken back to the Test tab in your Custom connector page. Select your newly created connection from the drop-down list. Before you can test the custom connector, you need to create/save it. Then click Test operation

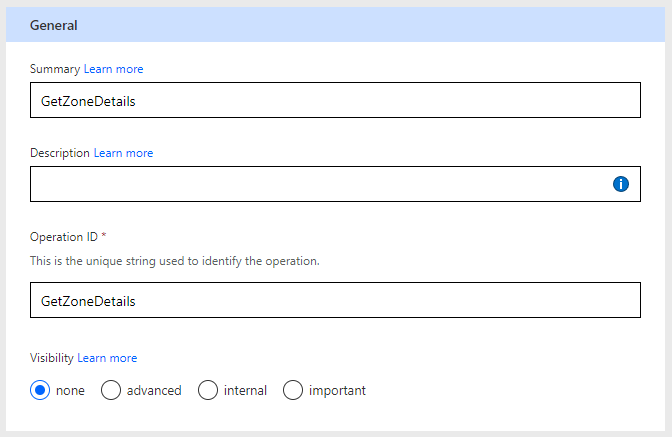
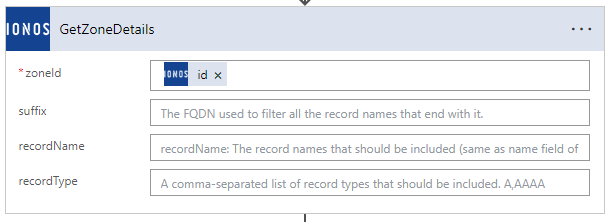
Under Actions, click New action and this time, call it GetZoneDetails
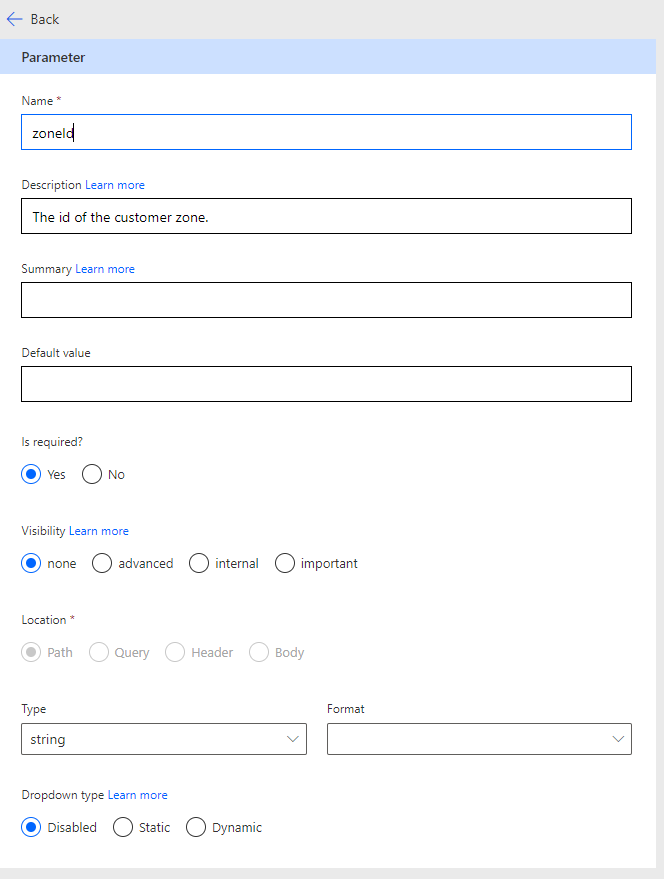
Under Request, click Import from sample and paste https://api.hosting.ionos.com/dns/v1/zones/{zoneId} – the {zoneId} will become one of the fields required in GetZoneDetails action later in your flow. When you read the API documentation, you have an option to specify other query parameters as show in the screenshot below. They are option, but it’s good to add them when you importing from sample as you can modify this section later. Even tho I don’t need them now, add them as an option anyway. To do that, you would need to use https://api.hosting.ionos.com/dns/v1/zones/{zoneId}?suffix=test&recordName=test&recordType=test.

Edit the zoneId under Path and make sure you select Yes under Is required.
Now save your Custom connector and go back to the Flow we created earlier. You can delete the HTTP actions we created earlier and replace them with a new action called GetZones. Click add an action, go to Custom and select GetZones
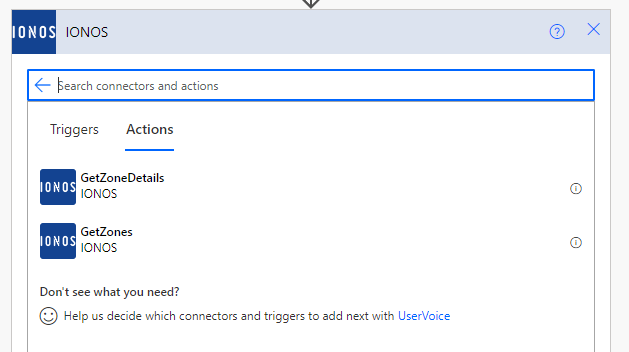
Now inside the Apply to each, replace body(‘HTTP} expression with body(‘GetZones’). Replace HTTP 2 action with GetZoneDetails by adding a new action and selecting GetZoneDetials from under Custom section.
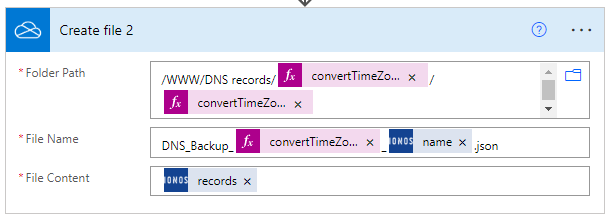
Folder path: /WWW/DNS records/@{convertTimeZone(utcnow(), ‘UTC’,’GMT Standard Time’,’yyyy’)}/@{convertTimeZone(utcnow(), ‘UTC’,’GMT Standard Time’,’MM’)}
File content: DNS_Backup_@{convertTimeZone(utcnow(), ‘UTC’,’GMT Standard Time’,’yyyy-MM-dd_HH-mm’)}_@{outputs(‘GetZoneDetails’)?[‘body/name’]}.json
File content: @{outputs(‘GetZoneDetails’)?[‘body/records’]}
To restore the records back to IONOS, use the PUT command instead of GET. Please refer to the IONOS API documentation for more details. Please be very careful with POST and PUT commands as you can wipe all your DNS records in a split second.